VISCO MANUAL

Manual last updated on:

Signal Flow

Global Parameters

Visco always has the navigation and playback control visible.

Navigation

The Navigator allows you to tab between the different views depending on what operation you want to perform: Sound, Sequencer, Modulation, and Mixer.

Playback

  • Play/pause: Start/stop the playback of the internal sequencer:
  • Lock: Sync the tempo of the internal sequencer to your DAW
  • BPM: Left-click and drag on the number next to BPM to set the internal tempo

Macros

Macros control the same parameter for all 8 tracks simultaneously.

  • Transform: Transform the sound between sources A and B
  • Timescale: Stretch/compress the length of a sound
  • Frequency: Shift sound frequencies along the Mel Scale
  • Contrast: Emphasises the most prominent components of the sound
  • Density: Increase or decrease the noise component of a sound

Sound View

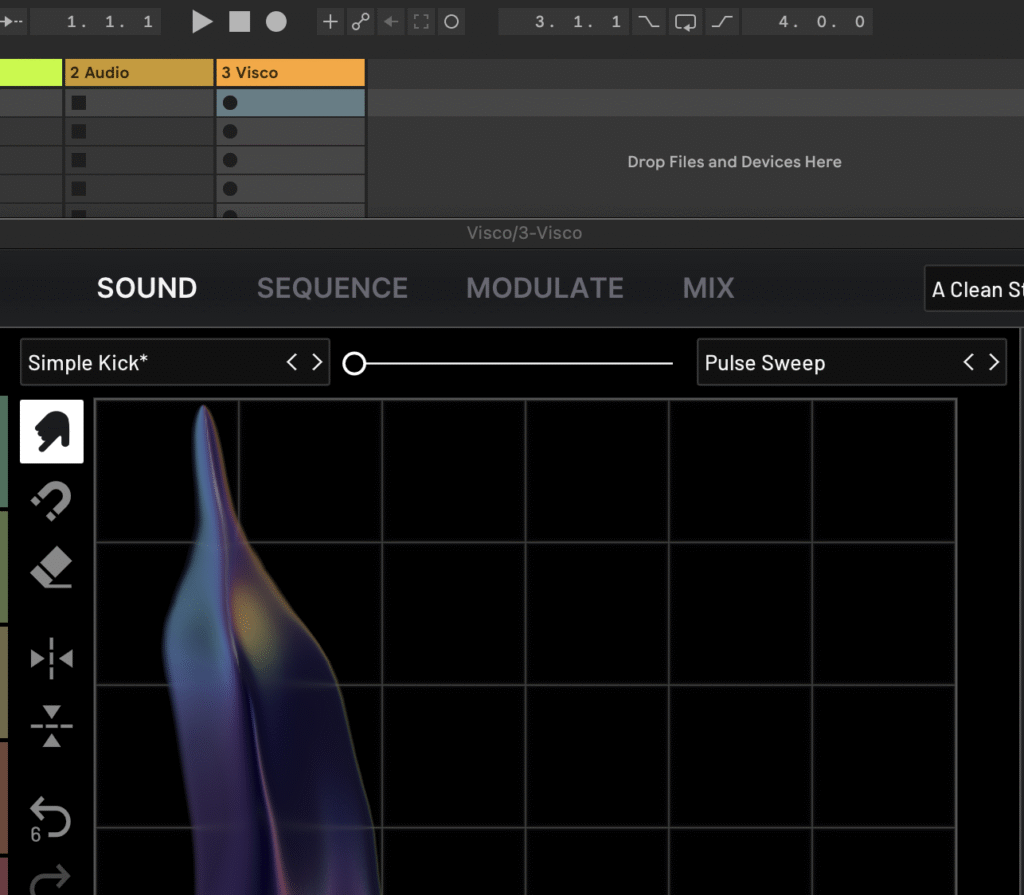
The Sound View is your home for most of the operations inside Visco.

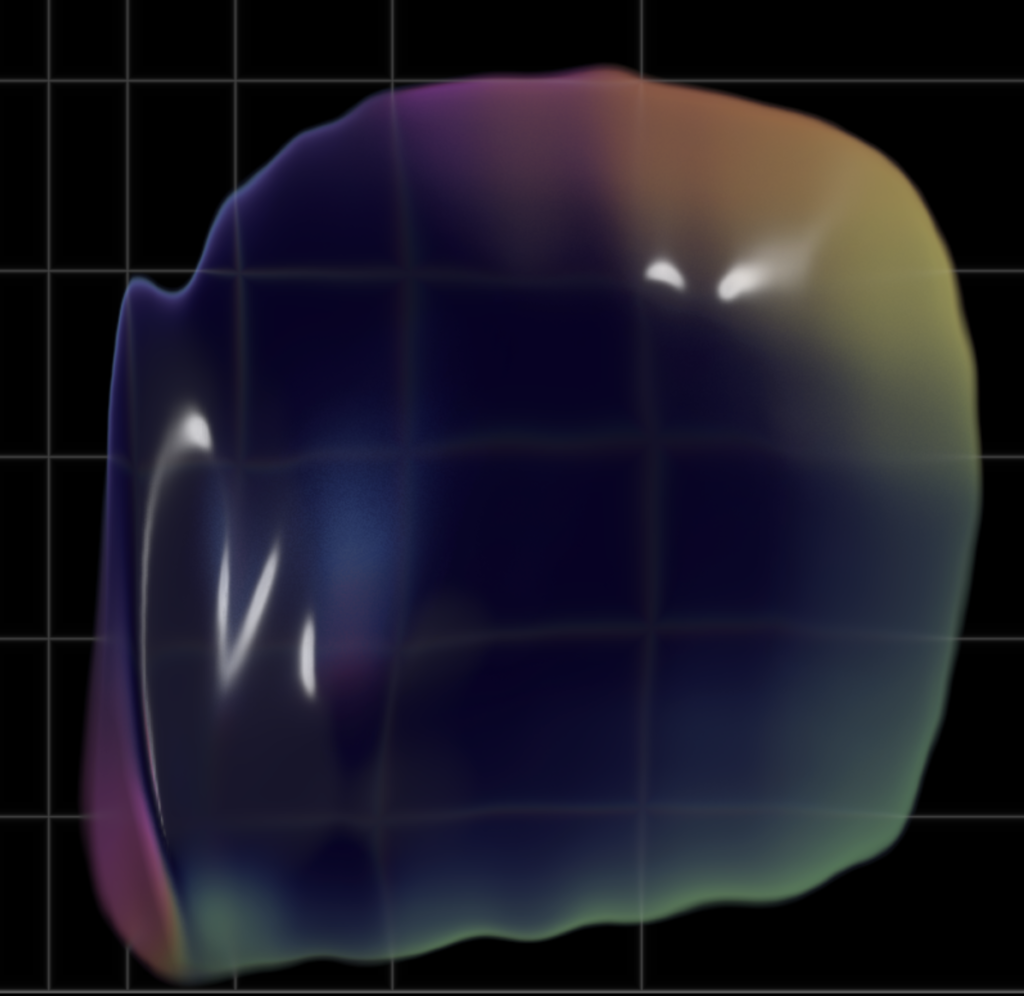
The blob

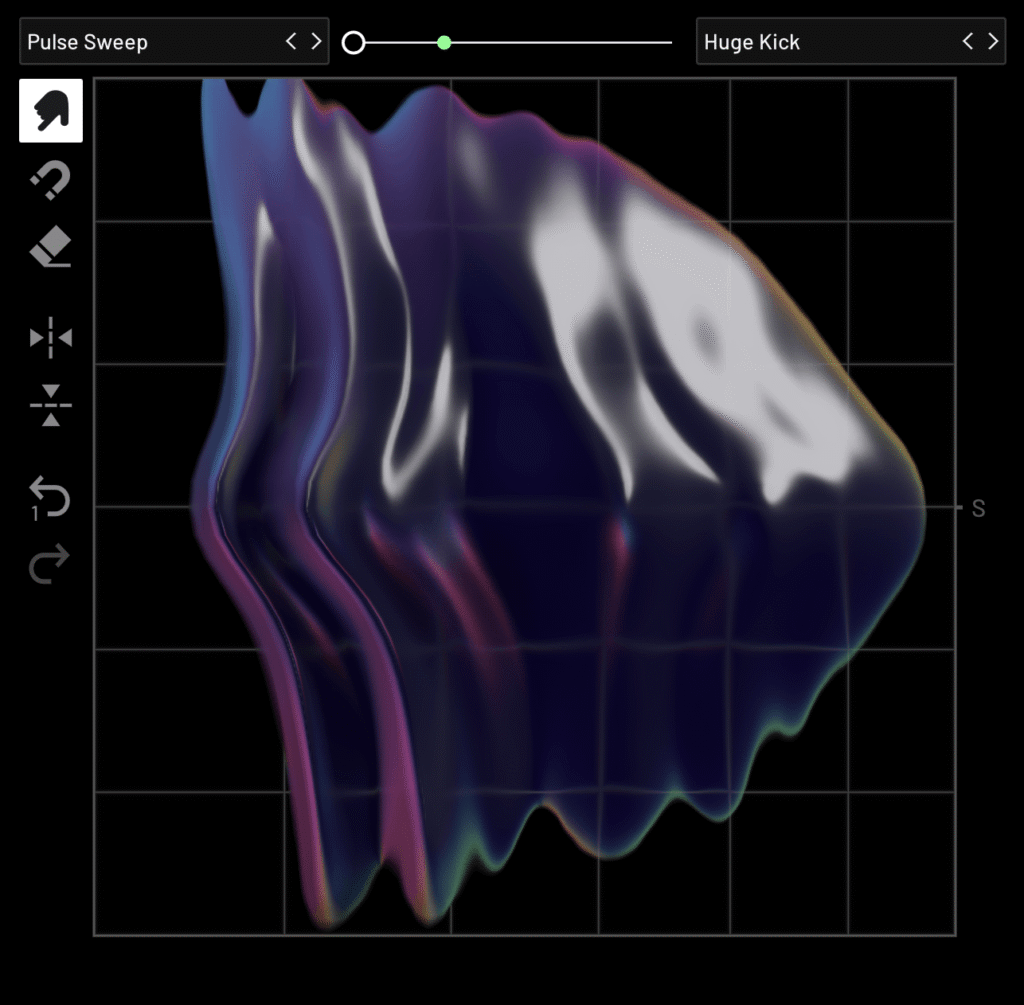
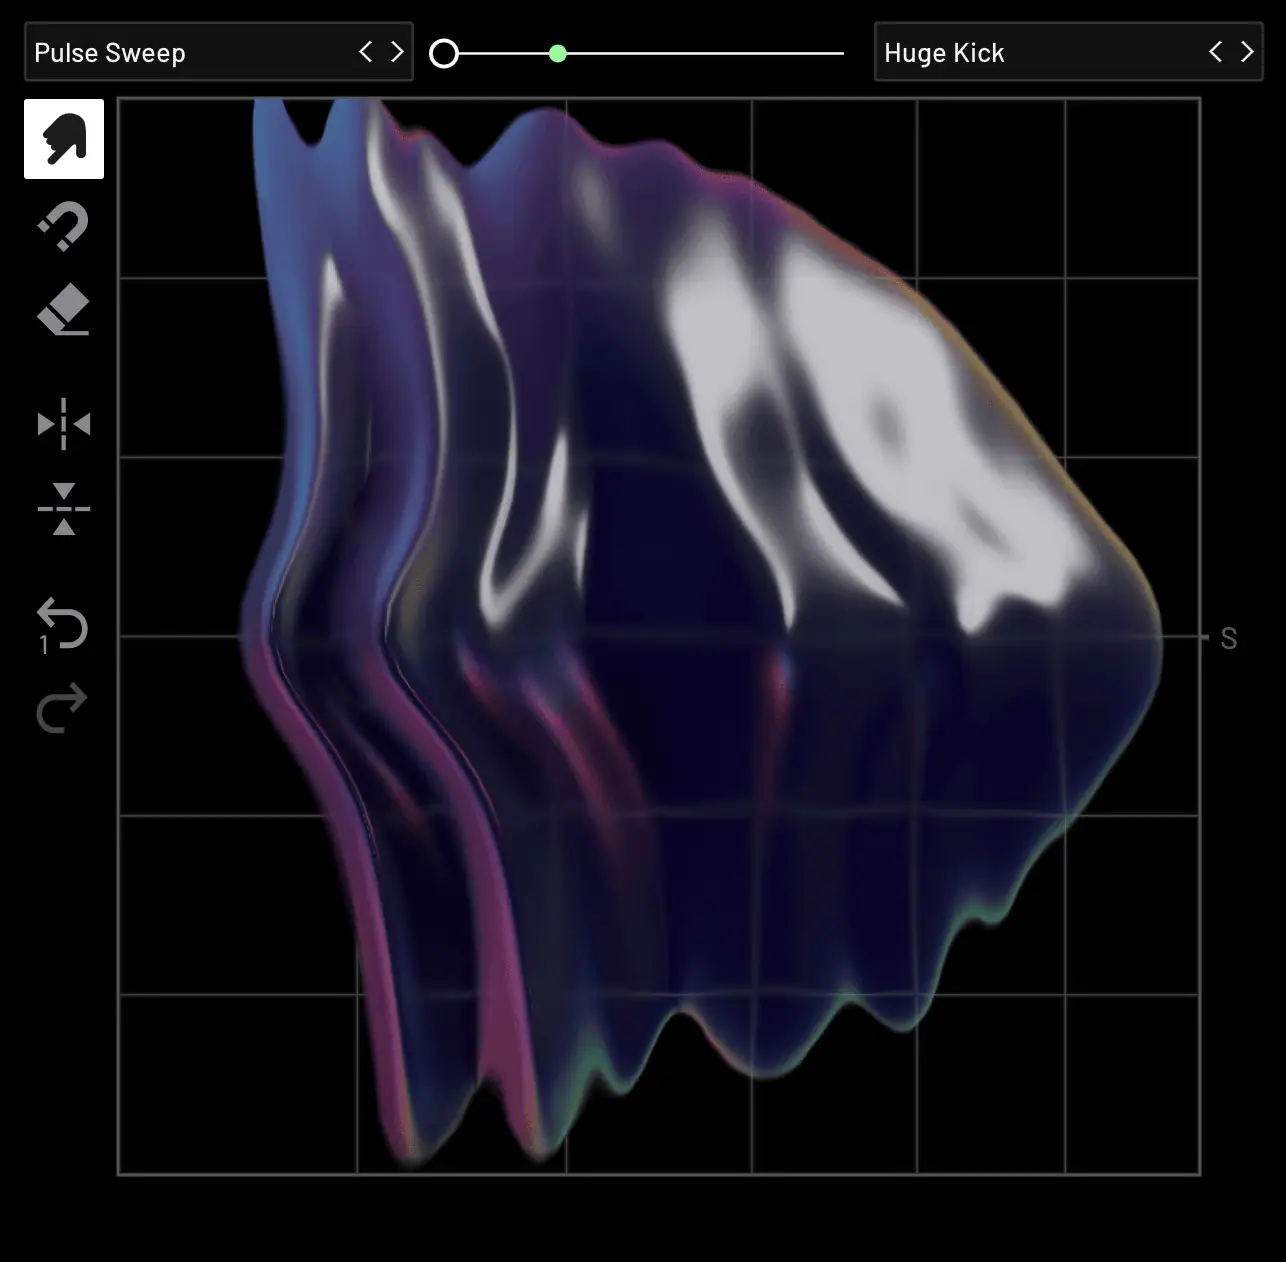
The focal point of Visco is the canvas and blob, where you can manipulate your sound with the built-in tools. Pick your tool and drag the sound across the display however you please.

  • The x-axis represents the frequency spectrum
  • The y-axis represents time
  • The z-axis (i.e., the height of the blob) represents the amount of energy of sound

Right-click on the canvas for a contextual menu:

  • Copy blob mix — Copies the current configuration of the blob, including crossfader position and sound design, to be pasted on another slot
  • Save blob mix — Save the current configuration of the blob, including crossfader position and sound design, into a new sound
  • Clear blob mix — Reset the sound to a blank blob
  • Enable Note Follow — Have Visco follow the latest sound to be triggered

Toolbox

Next to the blob is the toolbox for manipulating the content of your sound. Left-click and hold on the hand, magnet or eraser to change the size of the tool.

  • Hand: Drag on any part of the blob to move the blob in the desired direction
  • Magnet: Attract the sound content to wherever you left-click and hold on the canvas
  • Eraser: Repulse sound from a certain part of the sound/frequency domain
  • Mirror: Quickly invert the frequency or time range of your sound
  • Undo/Redo Go one step back in the undo history

You can also affect a sound’s whole frequency or time range by left-clicking and dragging in the black area just outside the grid of the canvas, either on the right side or below it. A big white box across the canvas will indicate that you are doing the right operation.

Track Selector

Visco consists of eight tracks, with up to two sound sources each.

Press the waveform to trigger the sound and the pad itself to access the individual sound controls.

The Pads are triggered chromatically by MIDI notes, going from C to G, in all octaves.

  • Mute: Toggle the M
  • Solo: Toggle the S

Sound selector

The sound selector section lets you decide what sound the individual track should play.

The left slot, A, is the default. Change the sound here to hear an immediate difference. Slot B is used when you want to morph between two sounds. The arrows allow you to enter each slot’s current folder of sounds. Slide the crossfader to blend the timbre of any two sounds.

Please note that where the crossfader is located dictates what layer of sound you manipulate with the Individual Pad Controls. A fader on the left side of the middle point manipulates Slot A, and a fader on the right side of the middle point manipulates Slot B.

Loading your own sounds

You can add your own sounds by dragging them into the plugin window locally or from inside your DAW. Visco accepts WAV & AIFF and you can drag in up to two sounds at the time.

Once loaded, user sounds will populate the “0 User” folder, which is also located at Macintosh HD > Library > Audio > Presets > Forever89 > Visco Sounds on macOS and C: > ProgramData > Forever89 > Visco Sounds on Windows.

You can freely rename and organize them inside your user folder by clicking “Show Folder” in the sound selector drop-down.

Individual Sound Control

Modify

Modifiers are the paramters that lend themself for realtime manipulation of a sound, and potentially also the most noticable changes you can make. Focus on these if you are new to sound design or just want to have a lot of fun.

  • Timescale — Stretch/compress the length of a sound
  • Frequency — Pitch the sound up and down according to the mel scale
  • Contrast — Emphasises the most prominent components of the sound
  • Density — Increase or decrease the noise component of a sound

Variation

These parameters manipulate the noise component of your sound, allowing you to add subtle variations. This is only noticeable in sounds with audible noise, like hi-hats, as opposed to pure sinusoidal wave sounds, like an 808 kick.

In “Free” mode, you get a constant stream of random noise, while in “Frozen” mode, you can replicate specific variations each time you play your sound. Enabling “Frozen” allows you to choose the sequence of random noise by setting a seed.

  • Mode
    • Free A new seed is used on every note-on
    • Frozen — The same seed is used (set by the Seed option) on every note-on
  • Seed — Select a random number string that can be reproduced

Voicing

  • Polyphony — Set polyphony count for the current track
  • Release — Influences how fast the sound should fade out after note-off
  • Damp — Emulate acoustic decay by dampening higher frequencies faster

Velocity

  • Dynamics — Controls how dynamic the sound should respond to your input
  • Model — Percussion behaves differently at different velocities. Use this control to apply natural/unnatural-sounding effects to your sound
  • Velocity Curve — Take manual control of the velocity curve:
    • The left point can be controlled in the Y-Axis
    • The middle can make the curve go from interpolated to a logarithmic shape
    • The right point can be controlled in the X and Y-axis

Sequencer

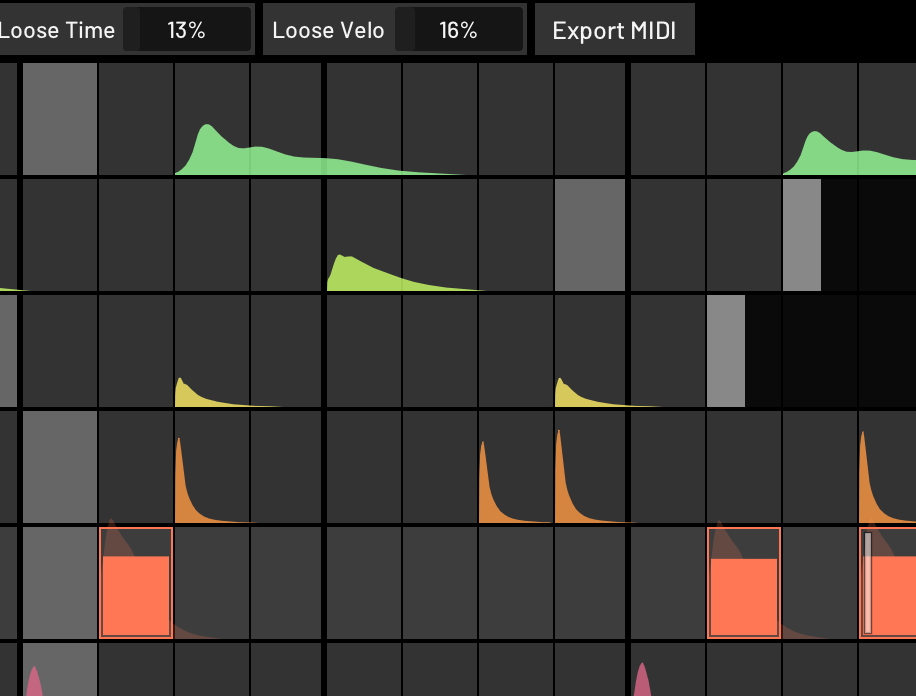
The sequencer view allows you to plot your beat across a 16-step loop with support for polymetric sequences. Each sound is represented by its corresponding amplitude.

  • Add a note: Double-click on a slot to add and remove a note
  • Change the length of a specific track: Left-click, hold, and pull the white handle at the far end of the sequence
  • Change the amplitude of a note: Left-click and drag on a note vertically
  • Change the timing of a note: Left-click and drag on the left side of a note horizontally
  • Clear either the specific track or the whole sequence: Right-click anywhere in the sequencer to access the context menu

The right handlebar of a note handles the length of the MIDI note, which triggers the sound. This is useful to change when exporting a clip.

Additional controls:

  • Swing — Controls the amount swing/shuffle in the sequence
  • Loose Time — Sets the amount of random timing in the sequence
  • Loose Velo — Sets the amount of random velocity in the sequence
  • Export MIDI — Click and drag to export a MIDI clip with your current sequence

Modulation Matrix

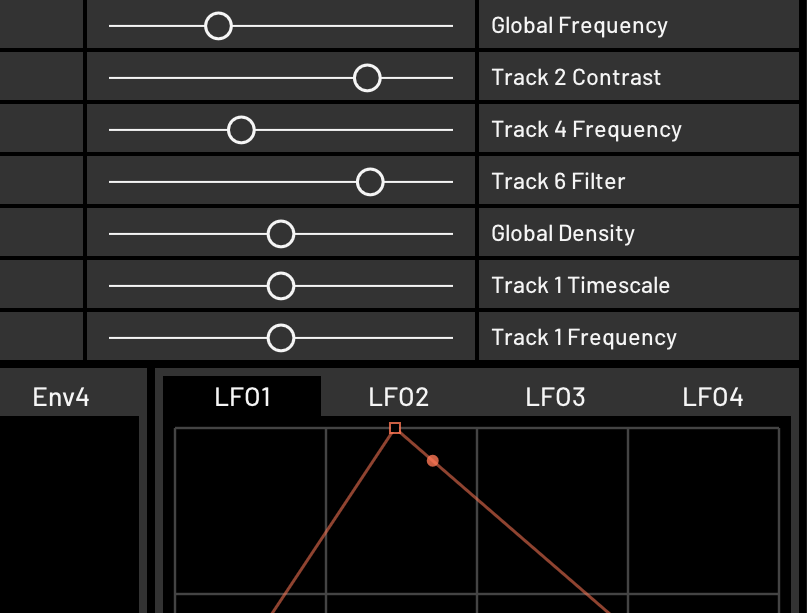
The Modulation Matrix allows you to animate your sound over time with four envelopes and four LFOs.

Select a modulator from the dropdown, select the amount of modulation (positive or negative), and finally, choose what target you want to modulate.

Sources

  • Env 1-4 — Envelope generator 1-4, see below
  • LFO 1-4 — LFO 1-4, see below
  • Constant — A constant output
  • BPM Octave — Locks the amount of modulation to the internal BPM of Visco (or external, if tempo is locked)
  • White, Pink or Brown Noise — Emitts White, Pink or Brown noise on each note-on
  • Noise Hold — Same as Sample&Hold; emits a new random signal on each note-on

Scalers

  • Velocity — Keypress force
  • Mod Wheel — Use the mod wheel on your external keyboard
  • Pitchbend — Use the pitch wheel on your external keyboard
  • Aftertouch — Key pressure after note-on
  • Note Octave — Scale the modulation based on octave

Envelope

  • Initial — Sets the initial onset amplitude
  • Attack — Defines the Attack period of the envelope
  • Decay — Defines the Decay period of the envelope
  • Sustain — Defines the Sustain amplitude of the envelope
  • Release — Defines the Release period of the envelope

LFO

  • Beatsync — Locks the LFO to the tempo of Visco or the host, or let it run free
  • Frequency/Beat Rate — Sets the frequency or beat rate of the LFO
  • Loop — Makes the endpoint of the LFO meet the start point, making a perfect loop
  • Retrigger — Set to retrigger on Note On-events
  • Per Voice — Set if the LFO is shared by voices or not

Mixer

The mixer section allows you to control volume, pan, send effects, and choose where to send each pad (Master out or separate stereo channels (1-8). Please see the Signal Flow above for more details.

Sound Control

  • Amp – Controls the Amplitude
  • Pan — Pans the sound from Left to Right
  • Filter — Applies a DJ-style high/low-pass filter
  • Width — Controls the stereo width
  • Send — Send the sounds to the two send effects
  • Output — Select if the sound should go to the Master out or a separate outs

Send FX

Visco has several audio effects, such as reverbs, delays, etc, to enhance and manipulate your sound differently. Each effect has only two knobs for quick access to the most important parameters of the effect.

Main FX

Once you’re happy with your sound, you can pass it through several of Visco’s Main effects, such as compressors and limiters. Each effect has only two knobs for quick access to the most important parameters of the effect.

Please note that choosing separate outs also bypasses the sends and master effects


Examples use cases

Really realistic drums

Visco can, if you want to, offer some very precise and accurate representation of drum sounds at any velocity level.

Traditionally, drum machines have taken several approaches to play back drums as realistically as possible, such as mapping amplitude to velocity or giving you 16 levels of amplitude across your drum pads for each sample you trigger on physical machines.

Unfortunately, drums are, by nature, more dynamic than this. The way a mallet (such as a drumstick) hits a resonator (such as a drum snare) behaves very differently depending on the velocity at which it happens. With Visco, you can consider more qualities of timbre when applying the right velocity curve.

In theory, one sample of a drum with the right curve applied should be enough to create more realistic-sounding drums at all velocity levels. If you have drum pads of any kind at home, give them a try!

Add your own effects and routing

Visco comes with a competent set of effects to get you started, but there are times when you want to use another spring reverb on the hi-hats.

No problem. Go to the mixing section and choose the external bus to send a specific sound. Then, inside your DAW, route the incoming audio from Visco to the channel you want it to. Done. Now you can add specific effects to specific tracks.

Try anything but drums

We built this thing for percussion, but that doesn’t mean you should limit yourself to it. Although the algorithms for transformation expect percussive sounds and, therefore, might not reproduce other sounds with as much detail, we are big believers in happy accidents, too.

Throw in whatever you have in your sample library and see what happens!

Crossfader thinking

When automated or mapped to a controller, you can create a seamless transition that transforms a sound over an arbitrary amount of time.

Use this technique to create a minimal techno track where the drums start as one kit and slowly transform to another, or create a blastbeat by mapping the crossfader to the Sample and Hold mod source, to have no control over how the next drum hit will sound. Or keep it static but dial in that perfect and unique kick between any two of your favorite samples.

You can also consider applying envelopes or LFOs to the crossfader to create dynamically transforming beats. For example, you could create a morphing hi-hat slowly moving from open to closed or a tom where the onset and tail come from different sources.